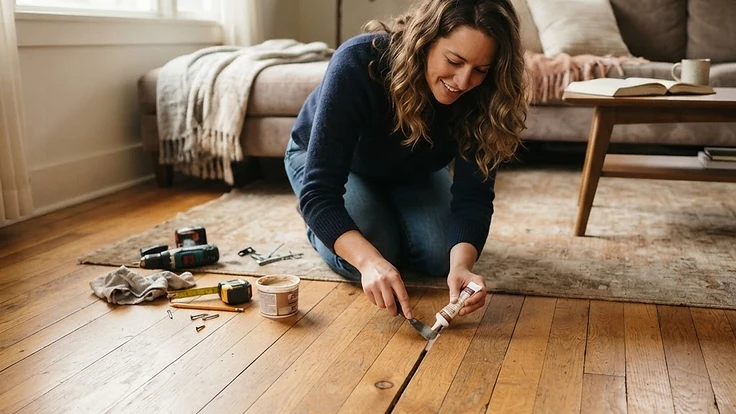
Why Your Hardwood Floors Squeak (And How to Fix It Without Tearing Up the Floor)
Squeaky hardwood floors usually come from loose subfloor connections, not bad wood—here's how to find and fix the real cause.
Why Your Hardwood Floors Squeak (And How to Fix It Without Tearing Up the Floor)
That creak under your foot every morning isn't just annoying—it's your floor telling you something has come loose. The good news? Squeaky hardwood floors almost never mean you need new flooring. In most cases, the fix takes an hour or two and costs less than $20 in hardware.
What's Actually Causing the Squeak
Hardwood floors are built in layers: the finished wood on top, a subfloor beneath it (usually plywood or OSB), and floor joists supporting everything from below. A squeak happens when two of these layers rub against each other instead of staying locked together.
This usually comes from one of three things:
- Nails or screws that have loosened over time. Wood expands and contracts with humidity changes, and after years of this movement, fasteners back out just enough to let boards shift.
- A gap between the subfloor and the joist below it. If the subfloor isn't sitting flush against the joist, it flexes slightly under weight, creating friction.
- Dried-out wood glue in floors that were glued during installation, leaving boards able to rub against each other or the subfloor.
The squeak is friction—wood rubbing on wood, or a nail rubbing inside its hole. Your fix needs to either eliminate that movement or quiet the friction.
Step 1: Find the Exact Board
Before fixing anything, pinpoint the squeak's precise location. This matters more than people expect—missing by even six inches means your fix won't work.
- Have someone walk slowly across the area while you watch and listen from a few feet away.
- Mark the exact board with painter's tape, not just the general area.
- Press down firmly on nearby boards with your hand to see if the movement (not just the sound) is coming from one specific spot or a wider section.
- If you have access to the space below—a basement or crawlspace—have a helper walk on the floor while you watch for movement in the subfloor from underneath.
Step 2: Fix It From Below (If You Can)
If you have access to the underside of the floor through a basement or crawlspace, this is the easiest and least invasive fix.
For gaps between subfloor and joist: Use wood shims coated lightly with construction adhesive. Tap the shim into the gap between the joist and subfloor—don't force it so hard that you push the floor upward, which can create a new high spot. You just want to close the gap, not widen it.
For general subfloor movement: Install a squeak-fixing bracket (sold at most hardware stores for this exact purpose) or screw a furring strip along the joist, snug up against the subfloor, to eliminate flex.
This method is ideal because it doesn't touch your finished hardwood at all—no risk of visible repairs on the surface.
Step 3: Fix It From Above (When You Can't Access Below)
If your squeaky floor is on an upper level or over a finished ceiling, you'll need to work from the top. This is slightly more visible but still straightforward.
Option A: Specialty squeak-repair screws Kits like "Squeeeeek No More" use a screw that goes through the hardwood and subfloor into the joist, then snaps off below the surface, leaving no visible screw head. This is the cleanest top-side fix and works well for isolated squeaks.
- Locate the joist beneath the squeaky board (kits include a joist-finding guide).
- Drill through the depth-controlled jig to avoid going too deep.
- Drive the screw until it seats, then snap off the break-away head.
- Fill the tiny resulting hole with wood filler matched to your floor color.
Option B: Trim-head screws at an angle If you don't want to buy a kit, you can drive thin trim-head screws at a slight angle through the board and into the subfloor below, avoiding the joist if you can't locate one. This works for surface-level looseness but won't solve deeper structural flex.
Option C: Powdered graphite or talc For squeaks caused by boards rubbing against each other (not the subfloor), sweeping a bit of powdered graphite or talcum powder into the seams between boards can temporarily quiet the sound by reducing friction. This isn't a permanent fix, but it's a quick band-aid if you need quiet floors before a specific fix can wait.
When the Squeak Signals a Bigger Problem
Most squeaks are harmless and purely mechanical. But pay attention if you notice:
- A spongy or bouncy feeling when you walk, not just a sound—this can indicate joist damage or rot, especially near bathrooms or exterior walls.
- Squeaking that's spreading across a wide area rather than staying isolated to one or two boards.
- Visible sagging in the floor when you sight along it at eye level.
These signs point to structural issues—often moisture damage to joists or subfloor—that go beyond a simple screw-and-shim fix. If you spot any of these, it's worth having a contractor inspect the area before doing cosmetic repairs on top of a weakening structure.
Wrapping Up
A squeaky floor is one of those home annoyances that feels bigger than it is. In reality, it's almost always a loose mechanical connection between layers of your floor system—something you can diagnose with a little patience and fix without specialized tools or tearing anything up. Track down the exact board, choose the right method based on your access, and you'll likely have quiet floors again by the end of the weekend.
This article is general information and not legal, financial, or medical advice.
Want help tracking recurring maintenance issues like this before they turn into bigger repairs? Start your free HomeNostics trial and keep your whole home's maintenance history in one place.